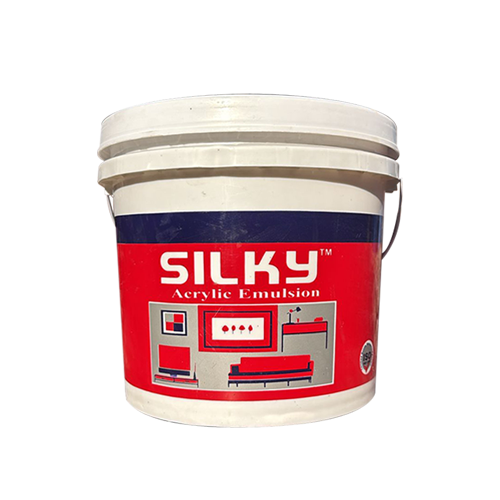
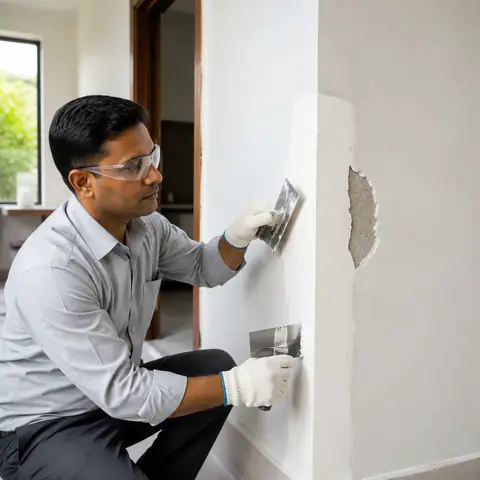
PRODUCT OVERVIEW Silky Acrylic Water Putty is a high-performance, acrylic-modified wall repairing compound designed to provide smooth, durable, and long-lasting surfaces. Ideal for interior and exterior applications, it fills dents, cracks, holes, and minor surface imperfections with excellent adhesion and strength. The advanced acrylic formulation ensures superb flexibility, shrink-resistance, and a perfect base for all types of paints.
Waterproof Joints
Excellence Adhesion
Non Shrink
Areas of Application
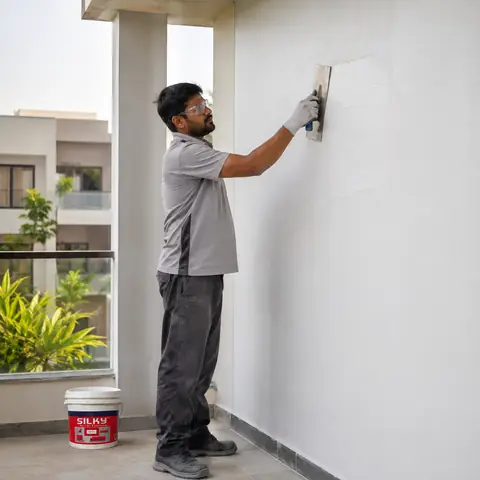
Interior and exterior wall surfaces
Cement plaster and concrete walls
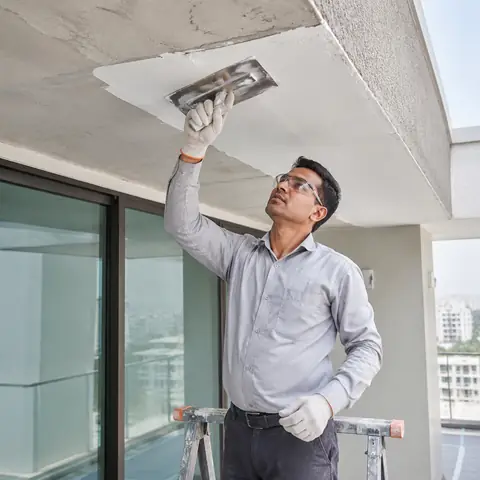
Ceilings and soffits
Gypsum and POP surfaces
Pre-painted walls requiring repair
Filling cracks, dents, nail holes, and minor surface defects
Leveling uneven wall patches before painting
Repairing corners and edges of walls
APPLICATION GUIDE
METHOD OF APPLICATION
Follow these preparation, mixing, filling, drying and sanding steps for a smooth paint-ready finish with Acrylic Wall Putty.
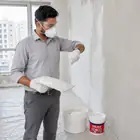
01 Clean Surface Remove dust, grease, loose particles and flaking paint from the surface.
02 Moisten Surface Lightly moisten the clean wall surface with clean water before application.
03 Mix With Water Mix putty with clean water to form a smooth, workable paste.
04 Use Promptly Use the prepared mixture within 30 minutes for best working results.
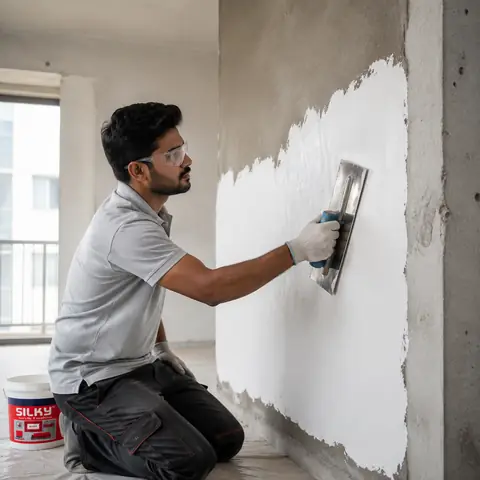
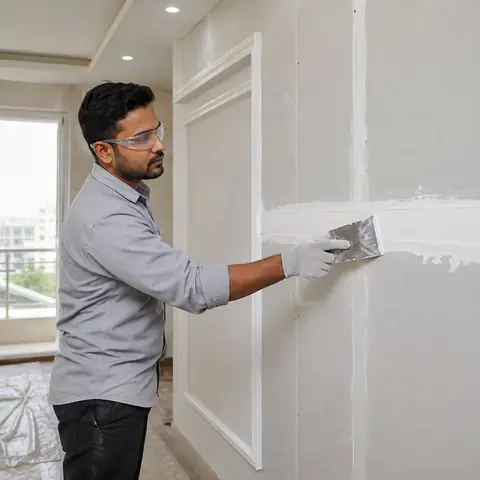
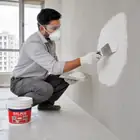
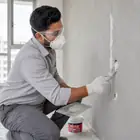
05 Apply Putty Apply the paste evenly using a putty knife or finishing trowel.
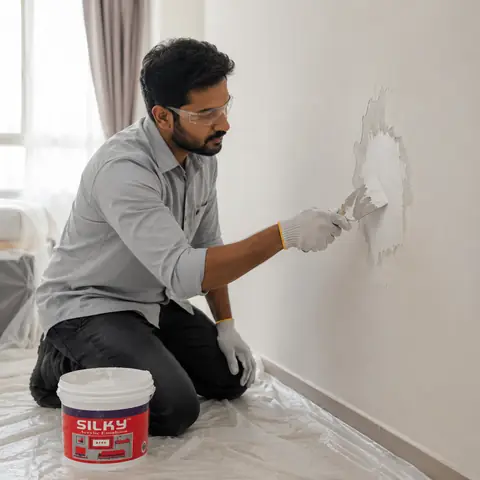
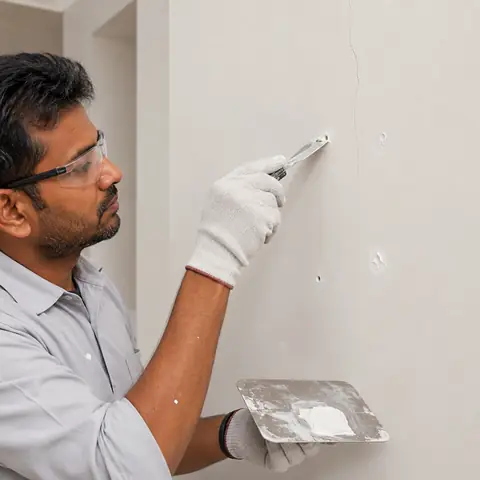
06 Fill Defects Fill cracks, holes and uneven areas uniformly before final smoothing.
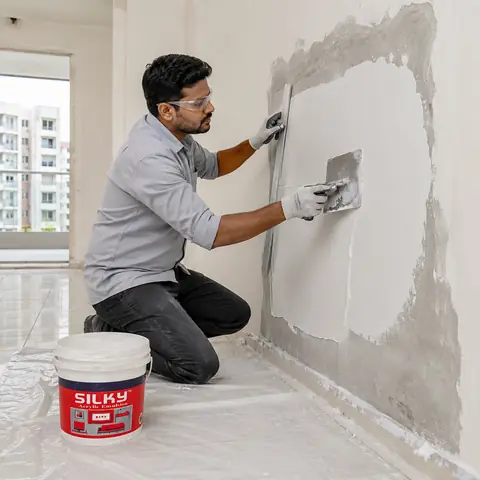
07 Apply Thin Layers Apply in thin, even layers to achieve the best surface finish.
08 Let Coat Dry Allow each coat to dry completely before applying the next layer.
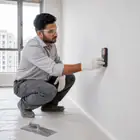
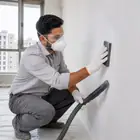
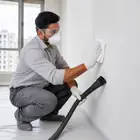
09 Sand Smooth Sand the dried surface lightly with fine emery paper.
10 Remove Dust Wipe off sanding dust before applying primer or paint.